Note
For some operating systems, the installation of the DiCE USB driver requires that the user has administrator rights for the computer that is used.
For each new or additional DiCE unit that is going to be used in VIDA, the USB driver must be installed separately. This is done automatically in Windows when the DiCE unit is connected to a USB port. Carry out the instructions below.
Note
Note
For some operating systems, the installation of the DiCE USB driver requires that the user has administrator rights for the computer that is used.
Power up and connect DiCE to a PC via USB
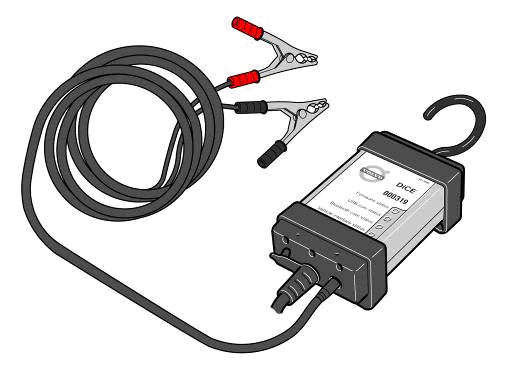
Power up the DiCE unit by connecting it to the 12 V DC adapter, see the picture below. Alternatively, use the Battery cable (part number 9513004) and connect it to the vehicle battery.
Remove the cover of the DiCE unit by turning the screw on the cover.
Connect a short USB cable to the DiCE unit.
Connect the USB cable to a free USB port in the computer. Detach the Bluetooth adapter cable temporarily if there is only one USB port in the computer.
| ð |
Windows will start to install the DiCE unit when the USB cable is connected to the USB port. This might take several minutes. Depending on computer settings, this will be done either via an installation wizard or automatically in the background. |
When the installation is completed a message appears, informing that the device drivers installed successfully.
| ð |
The DiCE is ready to use. |