Updating the internal software (also called firmware) in a DiCE unit is done via VIDA or the DiCE Firmware Update application. This assumes that the USB driver has been installed for the DiCE unit, see Installing the USB driver for DiCE.
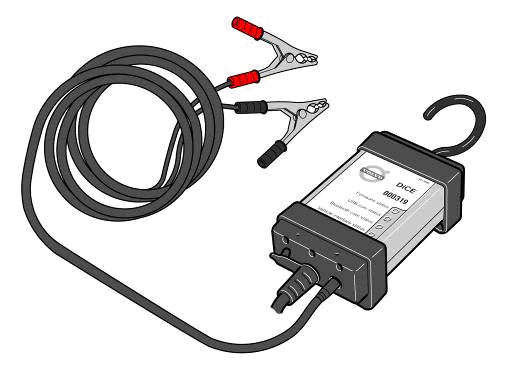
The DiCE unit has to be connected with a USB cable and 12 V feed. Ensure that the Firmware status LED is flashing green.
The user interface for updating software is available in English only.
-
Connecting DiCE
-
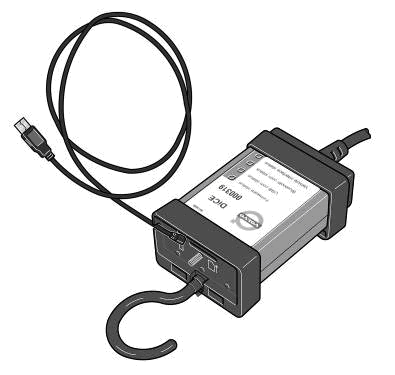
Connect the DiCE unit via the USB cable to the computer, see Installing the USB driver for DiCE.
-
Choose DiCE unit in VIDA
-
Click .
-
Click .
-
Updating the DiCE unit software
-
Click .
-
Close the Firmware Update application tool by clicking .
-
If the firmware update fails, please restart the DiCE and retry.
-
When the update is finished, the text
Device update OKshould be displayed.
Connect the DiCE unit to a 12 V supply.
Select the tab and choose the appropriate DiCE in the drop-down menu.
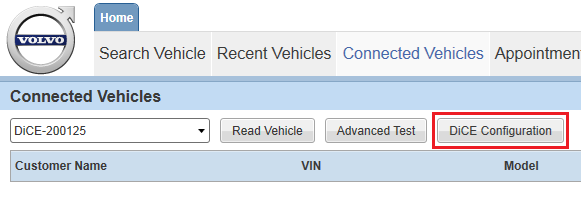
| ð |
The DiCE Configuration pop-up opens. |
| ð |
The Firmware Update window opens. |
|
The DiCE Firmware Update application can also be started from in the Start Menu in Windows. |
Ensure that the correct DiCE unit and firmware file are selected in the Firmware Update window. The firmware can be found in the folder C:\Program Files\DiCE\Tools\DiCE_x_x_x.mot.
| ð |
The update is performed. It should not take more than a few minutes. If the DiCE unit already has the latest firmware a dialog box opens, asking whether to load the firmware again or not. |